
I just started Android Development a few days ago and noticed that doing some of the trivial things is also very challenging and non-intuitive in Android Studio.
Take the example of setting a background to an Activity.
If you want your UI(user interface) to be attractive then you have to set an attractive wallpaper or image as the background.
You can change the background in Android Studio in two ways:
- First way gets the job done easily but is not the best way to do it as I will tell later.
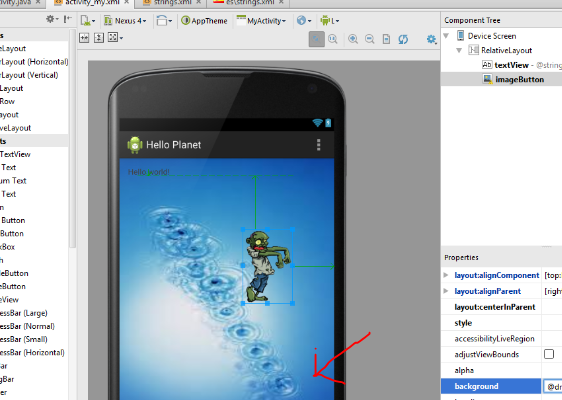
All you need to do is add the following code to you activity’s layout xml file:android:background="@drawable/background"
where background is the name of the image that you want to use as the background and is stored inside the drawable folder of your app.
The following images will help you understand the process better:
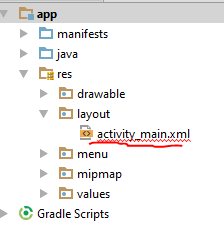
1. Take the image that you want to use as a background and paste it inside the drawable folder of your app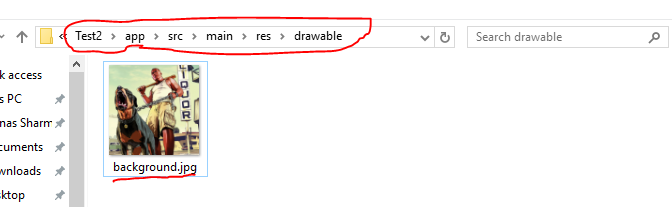
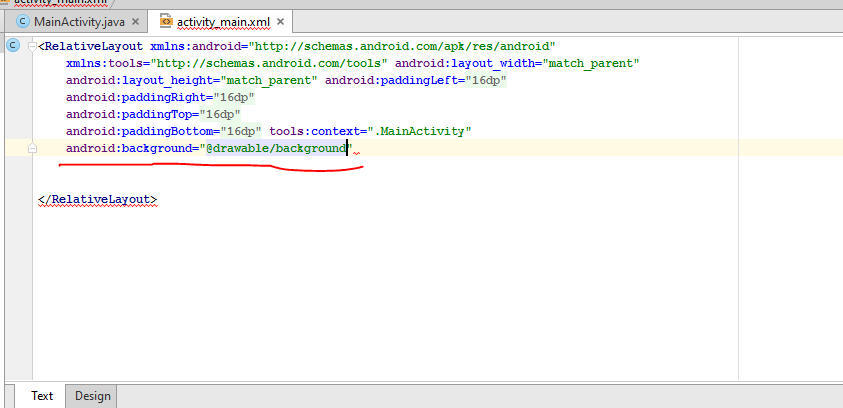
Location of the drawable folder where ‘Test2’ is the name of the app 2. Go to the xml layout file of your activity and the following code to the parent layout:
android:background=@drawable/background
where background is the name of the image that you want to use as the background and is stored inside the drawable folder of your app.
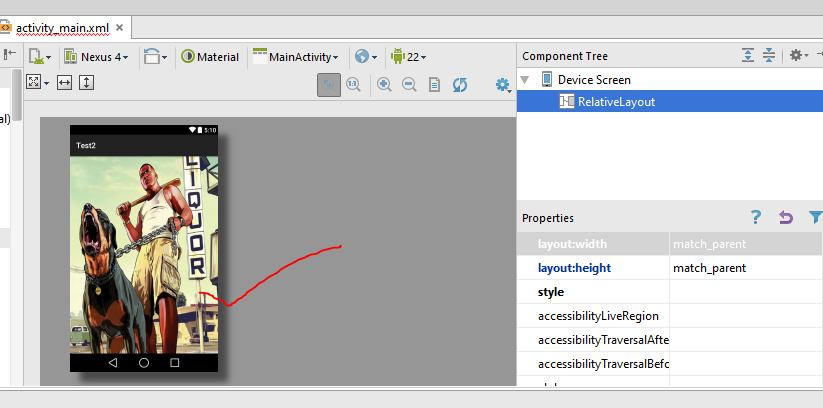
3.Background is changed!! 🙂
Note(Tip): Location of the xml files of layouts:
Though the above method seems pretty good, it is pretty flawed.
Therefore, we look at a better way to change backgrounds, which takes us to method #2. - Method #2:
Using ImageView.
A background can be set for an activity by using an ImageView pretty easily.
1. Create an ImageView inside your activity’s layout.2. Setandroid:layout_width="fill_parent"
and
android:layout_height="fill_parent"
.
3. Setandroid:scaletype="centerCrop"
4. and just set the
android:src="@drawable/background"
where ‘background’ is the name of the image you want to be used as background and is stored inside the drawables folder of your app.So that your ImageView looks like this:

Now, let’s come back to why I recommend/prefer the second method rather than the first.The first reason is that if the background image that you are using does not have the same aspect ratio as the device it is being run on, then the image gets stretched or compressed and spoils the look of the background.
However, with ImageView we can use the
android:scaleType="centerCrop"
which crops the image according to the device’s resolution and maintains the aspect ratio.
Have a look at how the background looks with both the methods:
Using Method #1: ‘android:background=….’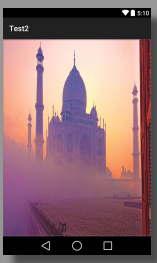
background gets stretched and compressed in portrait mode 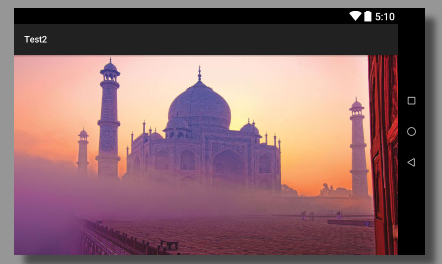
background goes out of aspect ratio and gets a little stretched and compressed to fill the screen Using Method#2(ImageView):
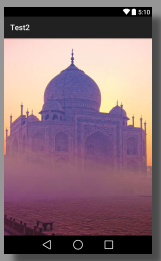
The Background image gets cropped to maintain the aspect ratio in portrait mode 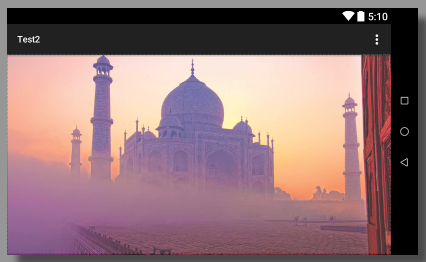
The Background image gets cropped to maintain the aspect ratio in landscape mode Moreover, another advantage of ImageView is that we can set the alpha value for the background.
Alpha value is a number between 0-1, which decides the transparency/opacity of the background, 1 being fully visible and 0 being fully transparent..So if you think that your text is the same color as the background and is not very clear then you can set a small value for alpha like 0.28.
That’s it!!! I hope that helped.
If you have any questions or doubts drop them in the comments section below.
Watch the following video for the video version of the above tutorial.
I’m a physicist specializing in computational material science with a PhD in Physics from Friedrich-Schiller University Jena, Germany. I write efficient codes for simulating light-matter interactions at atomic scales. I like to develop Physics, DFT, and Machine Learning related apps and software from time to time. Can code in most of the popular languages. I like to share my knowledge in Physics and applications using this Blog and a YouTube channel.
Great tutorial! I’m glad I stumbled upon this post as I was struggling to change the background of one of my Activities. Your steps were easy to follow and it worked like a charm! Thanks for sharing your expertise.
Great tutorial! I followed your steps and successfully changed the background of my app. The explanations were clear and easy to follow. Thanks for sharing!